Derailleur Adjustment: an Illustrated Guide
Thank you once again everybody for the advice on how to adjust a derailleur. I am pleased to announce, that with your help, it is done.
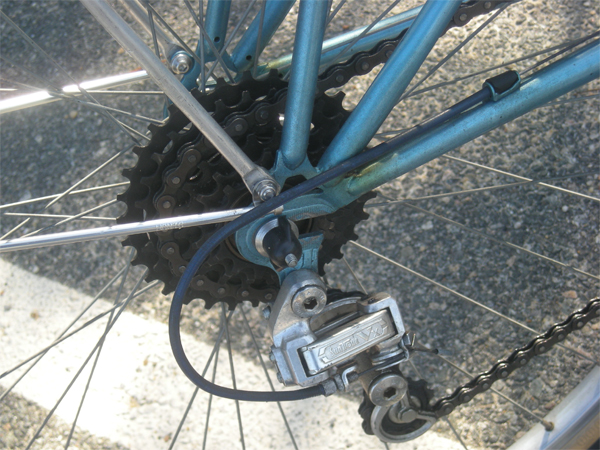 To recap the problem I was having: When downshifting to the lowest gear, there was nothing stopping the chain from going past it and slipping off the cog. Here is how we corrected this:
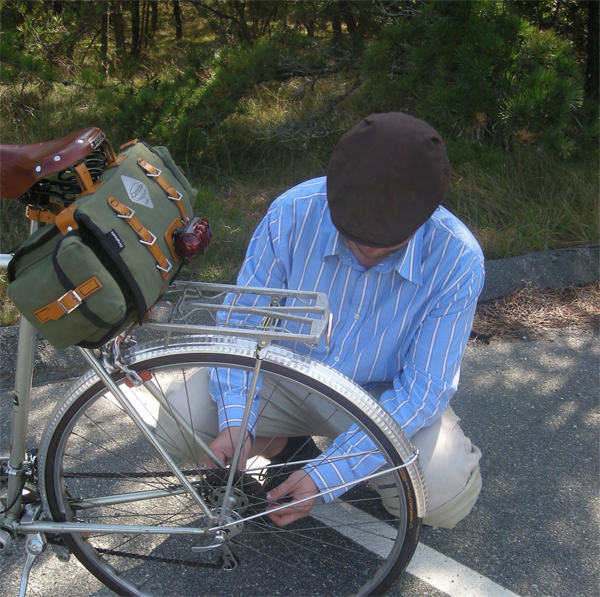 Mechanic
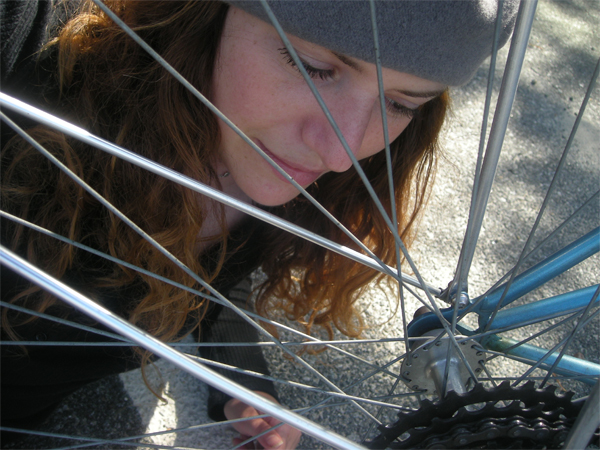 Assistant Mechanic
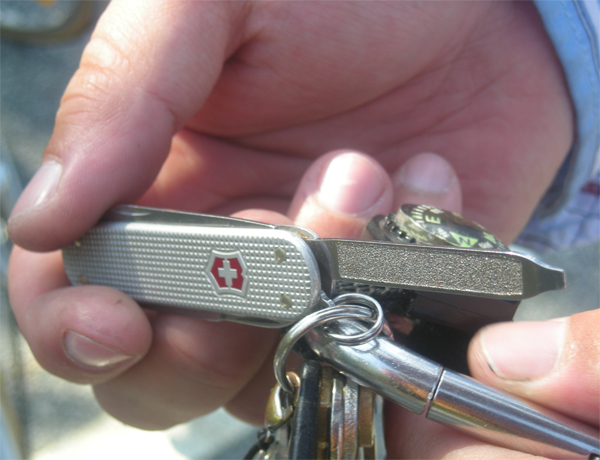 The all-important tool
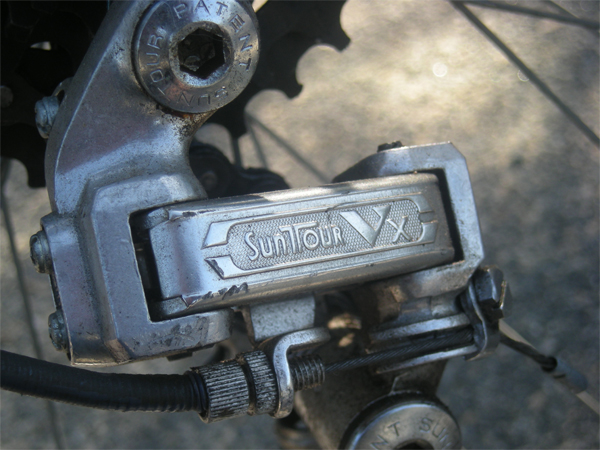 The derailleur. This is a rear SunTour Vx derailleur from the late 1970s. Note the two screws on the left.
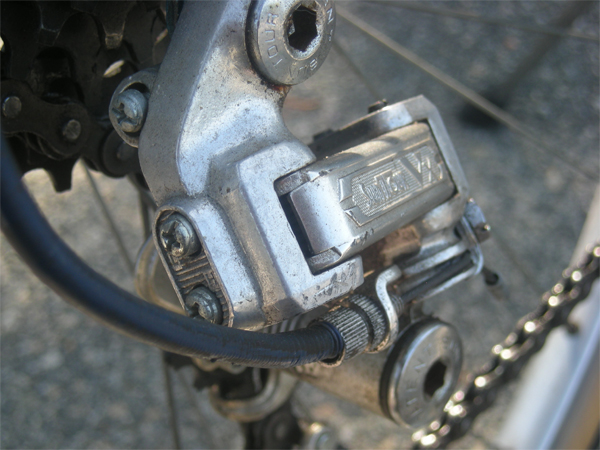 A side view of the screws.
 And here they are close up. Notice the letters "L" and "H" next to the screws. The "L" indicates low gear (the largest cog). The "H" indicates high gear (smallest cog). To stop the chain from going past the largest cog when downshifting into the lowest gear, tighten the "L" screw.
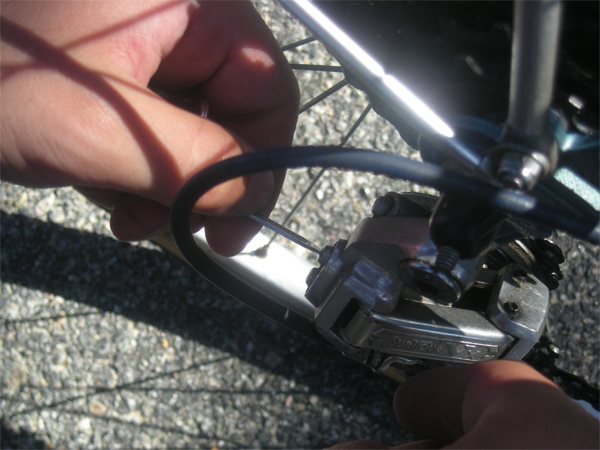 Here is the screw, being tightened. Conversely, if you find that the chain does not travel sufficiently to reach the largest cog when shifting to your lowest gear, you need to loosen this screw a bit. And if you are having this problem when upshifting to the highest gear, simply do the same thing to the "H" screw.
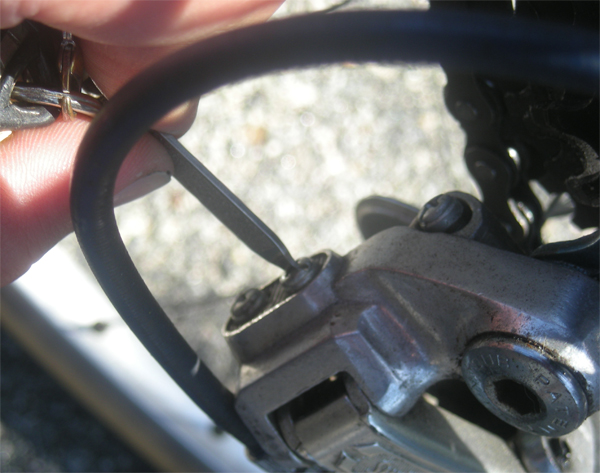 A close-up of the procedure. This takes very little time.
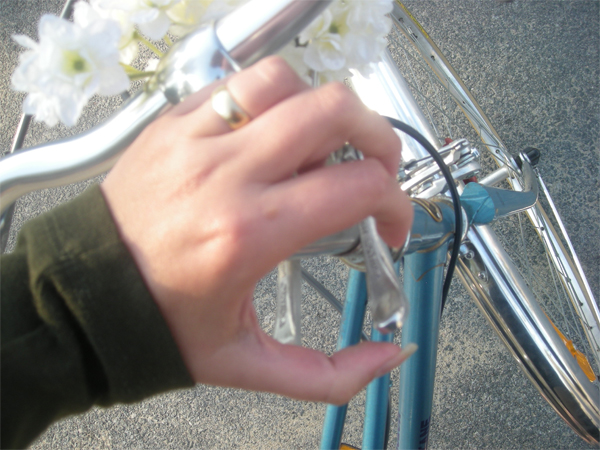 After the adjustment, test the derailleur: first by manually spinning the pedals as you shift, then by test-riding the bike.
 Here I am, having happily shifted into the lowest gear without the chain coming off.
 All done, and ready for the steepest hills. A big Thank You again to dukiebiddle, cyclemaniac, somervillain, and all the others who kindly offered advice and posted links. Your support is very much appreciated.
Some classic derailleur adjustment instructions, using more conventional tools:
. Sheldon Brown's thorough article on "derailler" adjustment
. The Bicycle Tutor's instructions and video
 To recap the problem I was having: When downshifting to the lowest gear, there was nothing stopping the chain from going past it and slipping off the cog. Here is how we corrected this:
 Mechanic
 Assistant Mechanic
 The all-important tool
 The derailleur. This is a rear SunTour Vx derailleur from the late 1970s. Note the two screws on the left.
 A side view of the screws.
 And here they are close up. Notice the letters "L" and "H" next to the screws. The "L" indicates low gear (the largest cog). The "H" indicates high gear (smallest cog). To stop the chain from going past the largest cog when downshifting into the lowest gear, tighten the "L" screw.
 Here is the screw, being tightened. Conversely, if you find that the chain does not travel sufficiently to reach the largest cog when shifting to your lowest gear, you need to loosen this screw a bit. And if you are having this problem when upshifting to the highest gear, simply do the same thing to the "H" screw.
 A close-up of the procedure. This takes very little time.
 After the adjustment, test the derailleur: first by manually spinning the pedals as you shift, then by test-riding the bike.
 Here I am, having happily shifted into the lowest gear without the chain coming off.
 All done, and ready for the steepest hills. A big Thank You again to dukiebiddle, cyclemaniac, somervillain, and all the others who kindly offered advice and posted links. Your support is very much appreciated.
Some classic derailleur adjustment instructions, using more conventional tools:
. Sheldon Brown's thorough article on "derailler" adjustment
. The Bicycle Tutor's instructions and video

dukiebiddle said...
ReplyDeleteYeah, I *was* going to go into the "L" and the "H" markings in my last comment, but I always get which is low and which is high gear all mixed up in my puny brain, plus they're not always marked, so I opted to just point out the existence of the two screws and let you figure it out yourself. ;-)
Very nice! Derailleurs are my biggest cycling annoyance, so it's good to see one bested :)
ReplyDeleteOne of the mechanics in my shop (by "my" I mean the one I was service manager in. I didn't own it), while tuning a bike, remarked to me that he could never remember which screw on the front mech did what, because different models arranged them somewhat differently.
ReplyDeleteI walked over to the bike he was working on, grabbed the front mech and started moving it back and forth. "Look," I says, says I, "You don't memorize things like that. It's a simple and obvious device with all of its bits exposed to your view. Understand how it WORKS and it will TELL you which screw does what."
"Oh, I never thought of that," says he.
Don't blame me. I didn't hire him, the owner did.
Sweet...now to work on that shifting technique ;-)
ReplyDeleteI said to myself "Fil is going to do that adjustment right after home-made pizza and beer." Your vacation is the best vacation I've had in a long time. I'll let you know how my "Old-time music festival vacation" goes as soon as Oct 16th gets here.
ReplyDeletePlease don't mention it .. It's to my pleasure, actually. ;-) Wonderful post this.
ReplyDeleteSmile and have a nice day.:-)
Excellent photo tutorial!
ReplyDeleteAaron - The technique is much improved after a week of practice. I dare say that I actually enjoy using the friction shifters now. What can I say - You and the others were right!
ReplyDeleteDave - Actually, the adjustment was done on the side of the road on a treacherously hilly island, after a dose of Cliff bars - but you were close!
kfg - I agree with this. I understand technical things through experience rather than rule-based learning. It also allows for greater flexibility when something does not present itself exactly as described in a manual or book.
And I DO like the all-important tool :-). Funnily enough they don't show that particular tool on the Bicycle Tutor site http://bicycletutor.com/adjust-rear-derailleur/ but perhaps they should for on-the-road adjustments like yours. So glad you're enjoying the wild world of derailleurs now...
ReplyDeleteI guess mine are more of "in the wild"-type of instructions : ) We had not planned on doing this until we got back to Boston, but somehow it spontaneously happened. Always carry a Swiss Army knife on your keychain, I say. Except at the airport checkin...
ReplyDeletewell done! glad to see you figured out the derailleur adjustments. the suntour vX was actually a fine derailleur in its day (introduced in 1976), it's nice to see it will continue in service on your mixte!
ReplyDeleteif you're feeling ambitious, the next improvement would be to replace the shifter cables!
Nice, I have the same Suntour derailleur on my old japanese touring bike, and it could use an adjustment too. PS. nice mixte!
ReplyDeletesomervillain - That is good to know. The derailleur and other components on this bike are in very fine condition; the previous owner almost never rode it. I will look into replacing the cables though and see whether that improves the feel of the shifters.
ReplyDeleteScott - Thanks, good luck with your adjustment!
Your mechanic may have indeed adjusted it and maybe it will work but gee, it seems that derailleurs are complicated even with the best of mechanics working on them. I think it's the nature of the beast. I also think worthwhile are indeed, the "pie plates", the spoke protectors.
ReplyDeleteThanks for the Pics and procedure! My bike would only shift into 3 of the 5 gears when I got it. Now it goes into all of them with just a few minutes of adjusting them!
ReplyDeleteThank you very much for the fine photos and instructions. I have a 10 sp Motobecane with the SunTour Vx and was having problems overshooting the lowest gear (biggest sprocket). This was my salvation.
ReplyDeleteI know everybody says they're totally uncool, and no good for your street credibility, but I wouldn't run a rear derailleur without a spoke protector behind the freewheel block. If the chain does overshift off the largest rear sprocket, it can take out several of your spokes, which will render the wheel instantly unrideable. I know from painful experience. Some spoke protectors are quite small and discreet, although the one I have on my Dawes looks like something you could use when faking flying saucer photographs.
ReplyDeleteI have a bike and had a sun tour derilleaur on it, but it broke in two, and my friend cut it off because he couldn't get it off, it had a nut on. I put another derilleaur on it. An index system.
ReplyDelete